
When your water heater is not able to provide sufficient hot water, the heating element is one of the first items that can be checked. The broken element is one of the usual reasons of irregular heating of water and the most effective method to verify it is by using of the multimeter. It is easy to know how to check water heater element with multimeter and this may save one time going to a professional.
Why Test a Water Heater Element?
Electric water heaters use one or two heating elements to warm the water in the tank. Over time, elements can burn out or fail due to sediment buildup, age, or electrical issues. Signs of a bad element include:
- Water not heating properly.
- Hot water running out too quickly.
- Tripped circuit breakers when the heater runs.
Testing with a multimeter helps confirm whether replacement is needed.

Tools You’ll Need
Before starting, gather the following tools:
- A digital multimeter.
- Screwdriver.
- Safety gloves.
- Non-contact voltage tester (optional but recommended).
Step 1: Turn Off Power to the Water Heater
Safety comes first. Go to your home’s breaker panel and switch off power to the water heater. Use a non-contact voltage tester at the water heater terminals to confirm the electricity is off. Never attempt testing while power is connected.
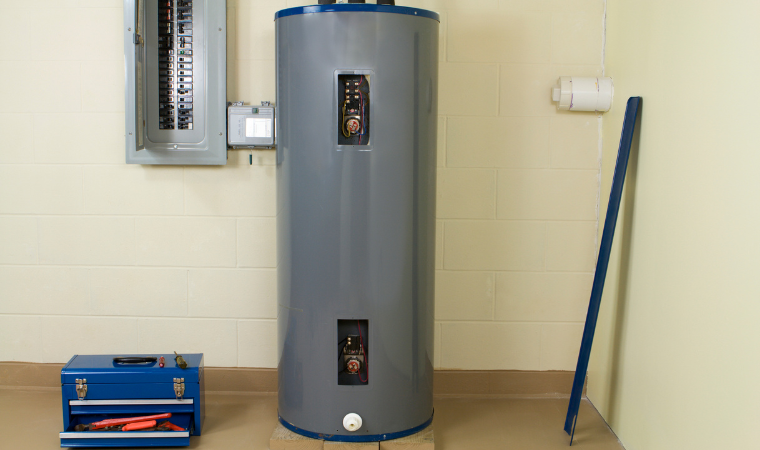
Step 2: Access the Heating Element
- Remove the access panel on the side of the water heater.
- Take off any insulation covering the element.
- Remove the plastic safety cover if present.
This will expose the element terminals where you’ll place the multimeter probes.
Step 3: Set the Multimeter
Turn your digital multimeter to the ohms (Ω) setting. Most heating elements should read between 10 and 30 ohms, depending on the model and wattage.
Step 4: Test the Water Heater Element
- Touch one probe to each screw terminal on the element.
- Read the resistance value on the multimeter.
If the reading falls within the expected range, the element is still good. If the multimeter shows no movement (infinite resistance) or 0 ohms, the element is faulty and must be replaced.
Step 5: Check for Short to Ground
To be thorough, test for a short circuit:
- Place one probe on a terminal screw.
- Touch the other probe to the metal tank of the water heater.
- Repeat with the second terminal.
Any reading other than “infinity” indicates the element is shorted and should be replaced.
Step 6: Reassemble the Heater
If the element is good, replace the safety cover, insulation, and access panel. If it’s faulty, turn off the water supply, drain the tank, and replace the heating element before restoring power.

Tips for Accurate Testing
- Test both upper and lower elements if your water heater has two.
- Sediment buildup can shorten element lifespan; regular flushing helps extend it.
- Always double-check power is off before touching wiring.
Final Thoughts
Having an understanding of how to check water heater element with multimeter will provide a homeowner with the assurance to troubleshoot the heating problem. A basic resistance test will either establish the functionality of the element or will require a replacement. Having this information, you will be able to choose who is responsible to do the repair: you can do it by yourself or call on a plumber.