
When the cold sets in, one of the most frequent issues with plumbing that arise in the homes is that of frozen pipes. Frozen pipes may prevent water flow and, when untreated, frozen pipes might rupture causing costly water damage. That is why it is a good idea to learn how to locate a frozen pipe in the house during winter season. When you know the symptoms and techniques of tracking the problem down, you can quickly act to avert major plumbing disasters.
Signs of a Frozen Pipe
Before you can locate a frozen pipe, you need to recognize the warning signs. Common indicators include:
- No water flow: If you turn on a faucet and nothing comes out, or the flow is very weak, the pipe leading to that fixture may be frozen.
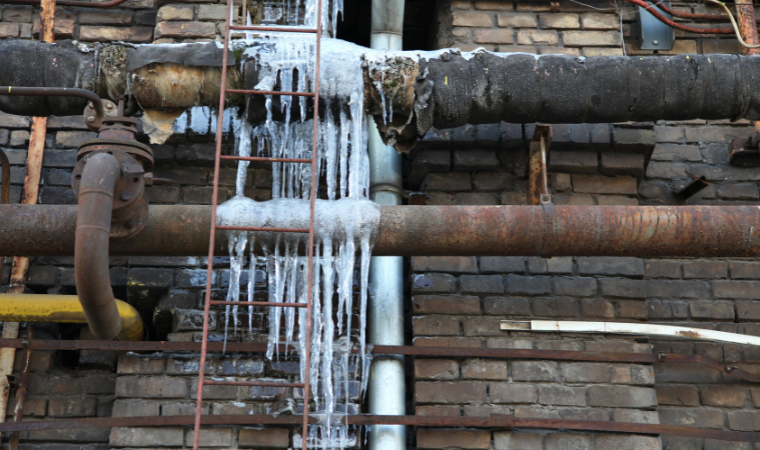
- Frost on pipes: Visible frost on exposed pipes, especially in basements, attics, crawl spaces, or garages, suggests freezing.
- Unusual noises: Sometimes you may hear clanking or banging sounds when the ice is restricting water flow.
- Bulging sections of pipe: Ice expands as it freezes, so swollen pipes may signal frozen water inside.
These clues give you a starting point for tracking down the exact location.

How to Find a Frozen Pipe in the House
- Start with Problem Fixtures
The first step in finding a frozen pipe is to test all faucets and water fixtures in your home. If only one faucet has no water flow, the frozen pipe is likely located between that faucet and the main supply line. If multiple fixtures are affected, the freeze may be in a main line closer to where the water enters the house.
- Inspect Cold Areas of the Home
Pipes are most likely to freeze in areas that are poorly insulated or exposed to cold air. Check places such as:
- Basements
- Crawl spaces
- Attics
- Exterior walls
- Near garage doors or drafty windows
Shining a flashlight along these areas can help you spot frost, condensation, or bulging.
- Follow the Pipe Path
Trace the pipe leading to the affected faucet. As you follow the line, look for visible signs of freezing like frost, ice buildup, or sections that feel much colder than others when touched.
- Listen for Sounds
Turn the faucet handle to open it slightly, then move along the pipe. Sometimes you may hear water trickling up to the frozen section. A gurgling or hissing sound can help narrow down the location.
- Use Temperature Detection Tools
If visual inspection isn’t enough, tools like an infrared thermometer or thermal imaging camera can be useful. These devices can detect sudden drops in temperature along the pipe, pinpointing where the freeze is occurring.
What to Do Once You Find the Frozen Pipe
Once you’ve identified the frozen section, it’s important to thaw it safely:
- Apply gentle heat: Use a hair dryer, heat lamp, or space heater. Move the heat source slowly along the pipe.
- Use warm towels: Wrap towels soaked in hot water around the frozen area.
- Keep faucets open: As the ice melts, water will begin to flow, helping to clear the blockage.
Avoid using open flames such as blowtorches or lighters, as these can damage the pipe or start a fire.

Preventing Frozen Pipes in the Future
Finding a frozen pipe once is enough to make most homeowners want to prevent it from happening again. A few preventive steps include:
- Insulating exposed pipes with foam sleeves or heat tape.
- Keeping cabinet doors open in kitchens and bathrooms to allow warm air to circulate around plumbing.
- Letting faucets drip slightly in extreme cold to keep water moving.
- Sealing air leaks around windows, doors, and foundations.
Final Thoughts
Knowing how to find a frozen pipe in the house can save you from serious water damage and expensive repairs. By checking problem areas, looking for signs like frost or swelling, and using basic tools, you can quickly locate the frozen section. Once found, apply safe thawing methods and take preventive measures to avoid future freezing issues. With the right steps, you can keep your plumbing system safe even in the coldest months.