
Bathroom upkeep is one of those tasks that can save you headaches later if handled correctly. A shower drain, while small, plays a big role in keeping your bathroom clean and working. Over time, however, it can become clogged with hair, soap, and other debris. One of the first steps to addressing this issue is learning how to remove shower drain cover safely and effectively. Doing so allows you to clean the drain, replace old covers, and prevent costly plumbing problems.
Why Knowing How to Remove Shower Drain Cover Is Useful
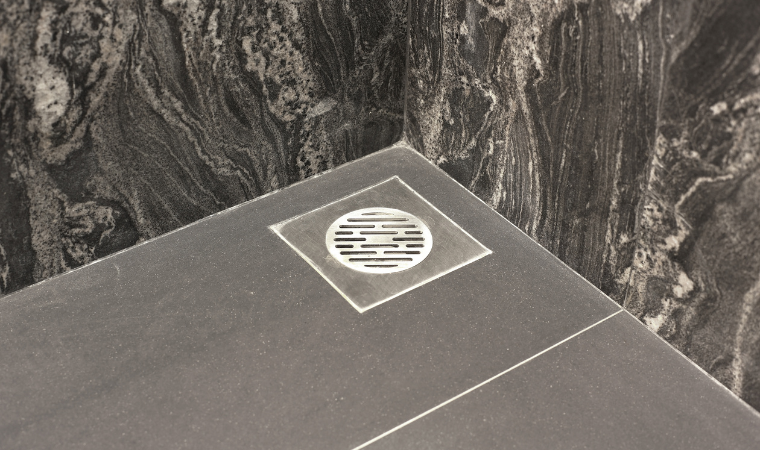
The drain cover might seem like a minor piece of hardware, but it serves as the first line of defense for your plumbing system. It keeps large debris out of the pipes, reduces the risk of clogging, and even adds to the appearance of your shower floor. Unfortunately, that same cover also traps the dirt and grime you’re trying to wash away.
When you remove the cover, you gain access to:
- Clog removal – Hair and soap scum can be cleared easily.
- Deep cleaning – Wiping down the drain prevents mold and odor.
- Drain inspection – You can check for rust, cracks, or corrosion.
- Cover replacement – Old or broken covers can be swapped for new ones.
Without this simple step, your shower may begin to drain slowly, smell unpleasant, or even damage the tiles around it.

Tools You’ll Need for the Job
A few household tools make the process smoother:
- Flathead screwdriver or putty knife
- Phillips screwdriver for screw-in covers
- Adjustable pliers or channel locks
- Flashlight for visibility
- Rubber gloves for hygiene and safety
- Small bowl or dish to hold screws
- Towel or rag to catch any dripping water
Having these items at hand prevents frustration midway through the task.
Step-by-Step Process
Depending on your drain cover type, you’ll need to use one of several approaches:
- Snap-On Covers
- Insert the flathead screwdriver under the edge.
- Pry gently until the cover pops off.
- Wipe the area to remove any buildup.
- Insert the flathead screwdriver under the edge.
- Screw-In Covers
- Find the screws securing the cover.
- Use the screwdriver to loosen them fully.
- Lift the cover out carefully without dropping screws down the drain.
- Find the screws securing the cover.
- Twist-and-Pull Covers
- Grip the cover firmly with your hands or pliers.
- Twist counterclockwise until it loosens.
- Pull upward to remove it from the drain opening.
- Grip the cover firmly with your hands or pliers.
- Toe-Touch or Push-Pull Stoppers
- Push the stopper down to the closed position.
- Twist counterclockwise while pulling gently.
- Lift out the cover once it loosens.
- Push the stopper down to the closed position.
Troubleshooting a Stuck Cover
If the cover feels stuck, spray a little lubricant around the edges. Let it sit for a few minutes, then try again. Avoid forcing it, as too much pressure could chip tiles or bend the metal.

Safety and Maintenance Tips
- Always wear gloves to protect against edges and germs.
- Keep screws in a safe container so they don’t get lost.
- Use gentle pressure when prying to avoid cracking tiles.
- Clean the drain thoroughly once the cover is off. A mixture of hot water, baking soda, vinegar can break down residue.
- Flush with hot water afterward to rinse away loosened debris.
When to Seek Professional Help
Sometimes, even after removing the cover, you may discover problems that require more than a DIY fix. Call a plumber if you notice:
- Persistent clogs that keep coming back.
- Rust or corrosion around the drain pipe.
- Leaks appearing in the ceiling or walls below the shower.
- Covers that are damaged and don’t fit replacement options properly.
A professional can inspect deeper into the plumbing, use specialized tools, and ensure long-term solutions rather than temporary fixes.